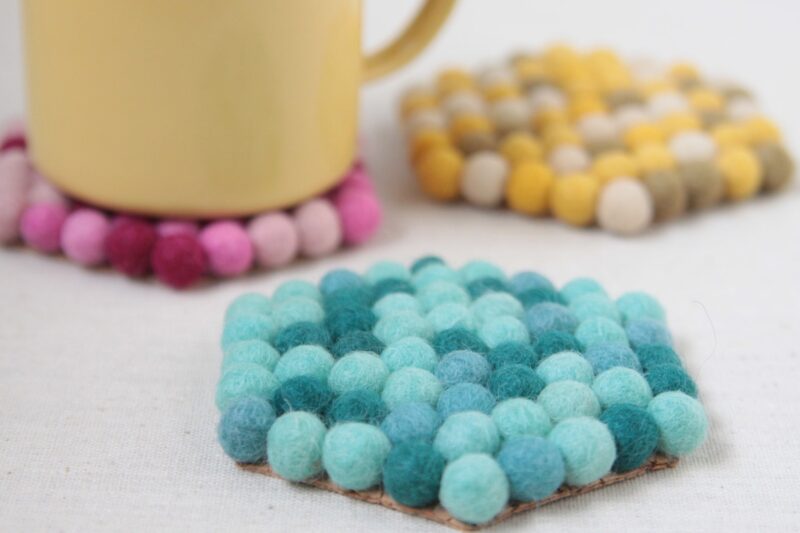
Felt balls, those fluffy, colorful spheres, have been silently taking the DIY décor world by storm. At its core, the beauty of felt ball decor is its duality: it’s both whimsical and elegant. The soft texture and myriad colors allow it to be adaptable for numerous creative projects. Moreover, the DIY aspect adds a personal touch, empowering creativity and ensuring each piece is one-of-a-kind. Their versatility and charm resonate in any setting, from the simplicity of a children’s room to the sophistication of a contemporary living space.
Choosing the Right Felt Balls
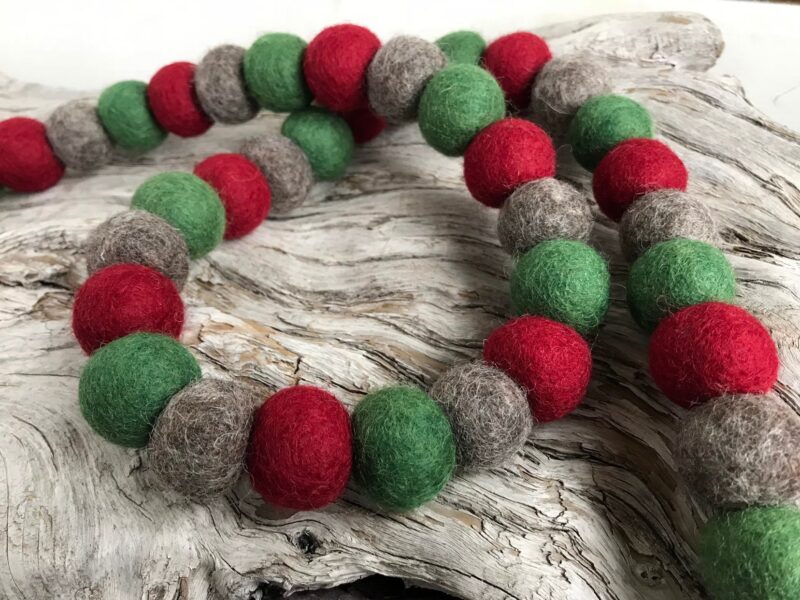
Felt balls, a DIY enthusiast’s dream, come in an array of sizes and a vast spectrum of colors. Selecting the perfect ones can make a difference in the final look of your project.
Purpose: It’s essential to factor in what you intend to create. Larger felt balls, being more visually striking, are excellent for rugs, creating a plush appearance. In contrast, smaller ones are more suited for detailed work like garlands or intricate wall art.
Palette: Color is emotion. Your choice can set the tone for a room. Complementing colors create a serene atmosphere while contrasting shades spark energy and dynamism. Placement: Visualize the space. Delicate pastels could be soothing for a baby’s nursery, while a sophisticated living room could benefit from richer, bolder tones. Remember, it’s all about creating harmony.
Creating Felt Ball Garlands

A felt ball garland is a delightful addition to any room, radiating warmth and charm.
Length & Colors: Begin by determining the desired length. Do you want it to span a doorway or just a small segment of the wall? Then dive into color selection, imagining how they’d flow.
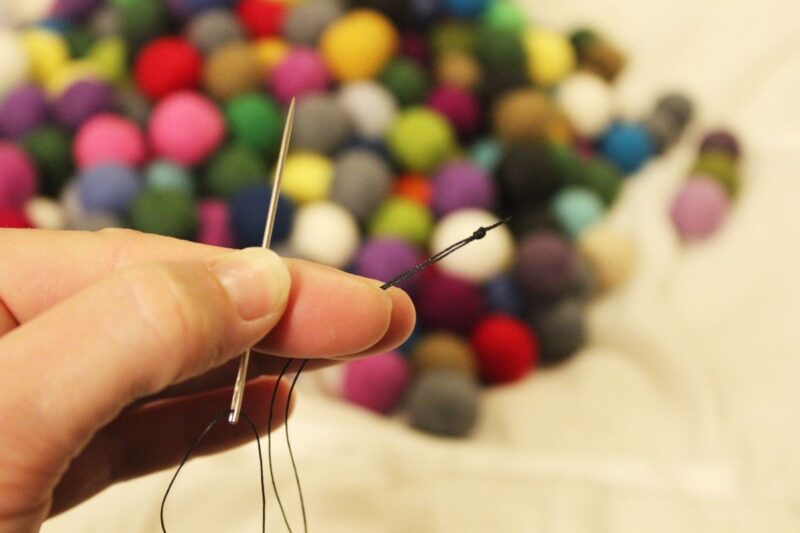
Threading: Using a needle, string each ball, ensuring they are spaced evenly. Tying a knot at each end ensures they stay in place.
Pattern Play: Here’s where creativity truly shines. Alternate colors, craft gradients mimicking sunsets, or surprise with an unexpected pop of color. Their versatility allows them to drape across mantels, spiral down staircases, or add color to plain walls.
Designing Felt Ball Coasters
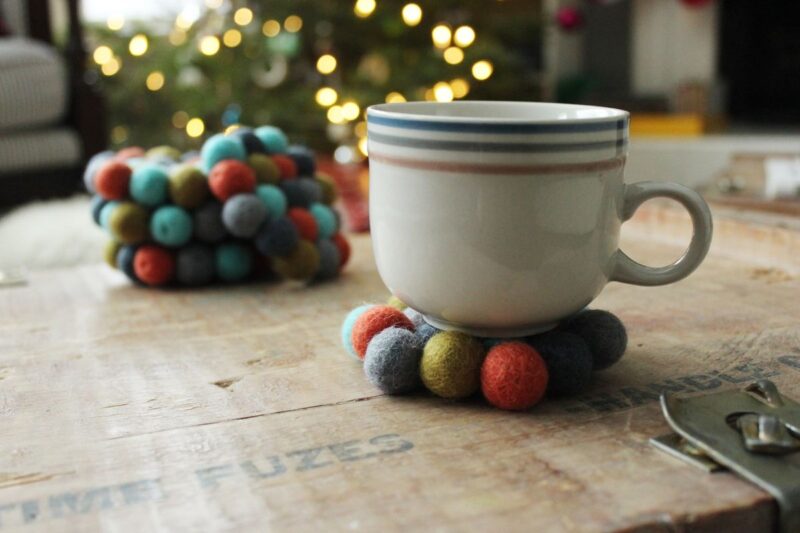
Felt ball coasters are not just functional—they’re mini artworks.
Base: Start with a sturdy base. Materials like cork or hardboard are ideal as they provide stability.
Assembly: Using a strong adhesive, begin gluing the balls from the center outward. This ensures even distribution and a neat finish.
Patterns: Visualize a design. It could be concentric rings for a sunburst effect, a whimsical spiral, or even a seemingly random assortment to surprise and delight. What do you get at the end? A coaster that’s a conversation piece, protecting surfaces in style.
Wall Art
Transforming your walls with felt balls, as found on besthimalaya.com, can range from intricate masterpieces to minimalist statements.
Canvas: Decide on the backdrop. Whether it’s a wooden board, a framed canvas, or even fabric, it will dictate the art’s overall feel.
Design: With a pencil, lightly sketch your vision. Whether you’re aiming for abstract patterns, geometrical designs, or even a ball rendition of rolling hills, trust your creativity.
Assembly: Once satisfied with your design, it’s time to glue each ball firmly. Once dry, proudly hang your creation for all to see, and let the compliments flow.
Rug or Mat
Imagine stepping onto a soft, cushiony mat of felt balls every morning.
Base: A strong fabric base, perhaps a discarded rug or tough canvas, works wonders.
Assembly: Glue or stitch felt balls close together, ensuring no gaps. This creates a uniform plush feel.
Shape It: Are you traditional, sticking to rectangles or circles, or adventurous, crafting a unique shape? Perhaps a heart for a child’s room or a paisley for a touch of whimsy? Place them in strategic spots —beside the bed for a warm morning welcome, or in the bathroom for a spa-like feel.
Felt Ball Wreaths for All Seasons
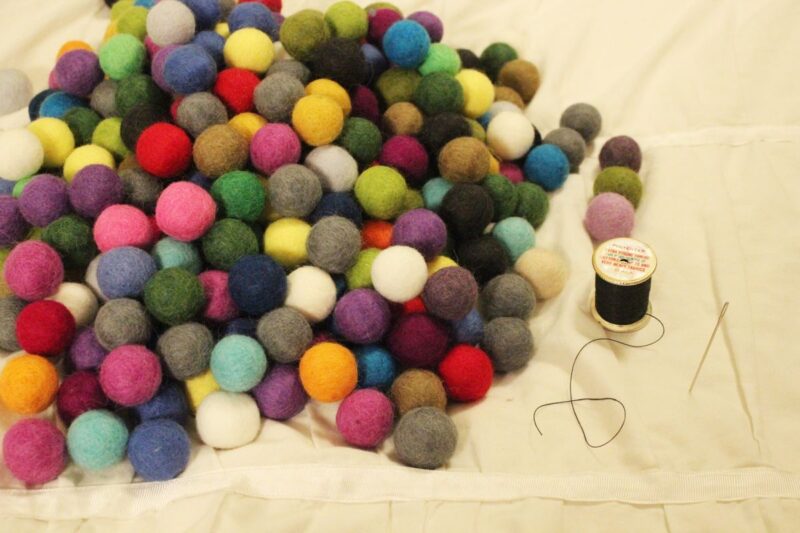
Celebrate seasons with adaptable felt ball wreaths.
The Form: Begin with a sturdy wreath form, available at most craft stores.
Ball Attachment: Secure felt balls using floral pins, ensuring they cover the form entirely. Alternatively, strong glue does the trick.
Seasonal Flair: Spring might invite pastels, while winter beckons richer hues. Introduce seasonal elements — cherry blossoms for spring or holly for winter. Their versatility shines as they adorn doors, grace walls, or stand out above cozy fireplaces.
Felt Ball Mobiles for Nurseries
Enchanting and soothing, felt ball mobiles are a dream for every nursery.
Structure: A sturdy hoop or frame is the starting point.
Hanging: String felt balls at different lengths, creating depth and visual interest.
Accessories: Introduce complementary elements like stars, moons, or ethereal clouds. Positioned above a crib, they not only serve as a decorative piece but also engage and soothe young ones, making bedtime a dreamy affair.
Centerpieces
Elevate your table settings with captivating felt ball centerpieces.
Base: A tray or shallow bowl forms the stage. Arrangement: Nestle felt balls alongside candles, flowers, or trinkets.
Layering: Play with dimensions. Varying ball sizes and other decorative elements create depth and intrigue. From grand dinner parties to tranquil evenings, they’re sure to captivate.
Curtain Tiebacks
Revolutionize window treatments with felt ball tiebacks.
Stringing: Choose a sturdy cord, stringing felt balls close together for a rich look.
Endings: Attach hooks or loops to ensure they hold curtains well.
Gathering: Use them to gather curtains elegantly, creating a blend of function and artistry. They introduce a touch of playful sophistication to any space.
Planters and Vases
Breathe life into greenery with felt ball embellishments.
Choice of Vessel: Select a pot or vase that complements your space.
External Adornment: Adhere felt balls for a textured, vibrant look. Alternatively, for transparent vases, fill them with felt balls as an accent layer. Whether showcasing a verdant fern or radiant blooms, they infuse any room with a dose of whimsy.
Maintenance and Care
The longevity of felt ball creations hinges on care.
Dusting: Regularly use a soft brush or cloth to keep them looking fresh.
Cleaning: Accidents happen. Spot clean with a damp cloth, ensuring not to soak them, as this can alter their shape.
Storage: Prioritize cool, dry places. Breathable containers are key to preventing mold. With this tender care, these pieces remain as charming as the day they were crafted, year after year.

