Have you ever taken on a painting project only to realize halfway through that aluminum isn’t the easiest surface to work with? You’re not alone. Aluminum can be stubborn.
It’s smooth, shiny, and just a little too slick for paint to stick easily. But don’t worry—I’ve been there, and with some simple hacks and a bit of patience, you can paint aluminum like a pro.
Let’s get into some of my favorite time-saving hacks to make sure you get a great finish while avoiding unnecessary headaches.
Step 1: Getting That Surface Ready
You can’t skip surface prep if you want your paint to stick. I know, cleaning and sanding aren’t the most glamorous parts of a project, but trust me, it pays off.
Start by thoroughly cleaning the aluminum. Grease, dirt, and grime can all prevent paint from adhering properly.
If you’re dealing with something that’s been outdoors (or, let’s be real, just plain filthy), you might want to bring out the big guns: a pressure washer. For smaller or less dirty pieces, a good degreaser or even mild dish soap will do the trick.
Once clean, give the surface a light sanding with fine-grit sandpaper. You don’t need to go crazy here; the goal is just to roughen up that smooth surface enough for the paint to grab hold. You’ll want a texture that feels a little gritty under your fingers—not glassy smooth.
Why Prep Matters
Sanding is essential because aluminum is non-porous. Without some texture, your paint is likely to peel, flake, or even bubble up after a while. So, the extra time here will save you from having to redo the whole project down the line.
For more detailed guidance on surface preparation techniques for aluminum, you can check out Runsom aluminum painting.
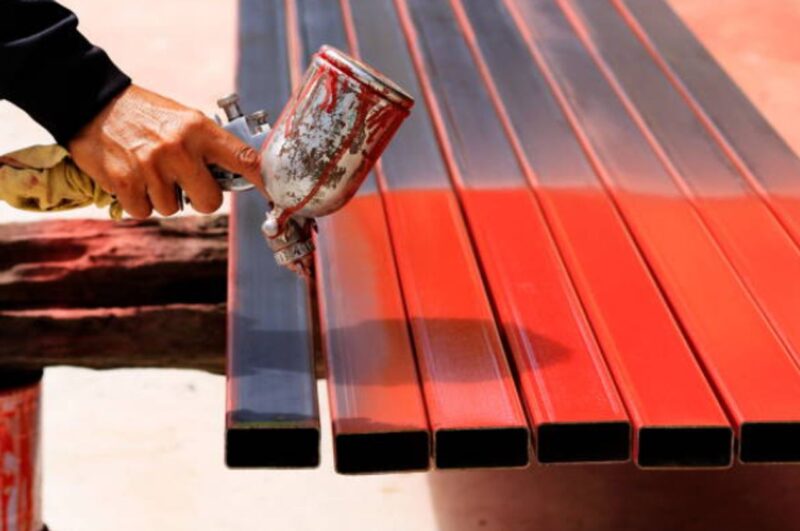
Step 2: The Magic of Self-Etching Primer
A standard primer won’t cut it on aluminum. What you need is a self-etching primer. This stuff is designed to chemically bond with the aluminum, giving your paint something solid to cling to.
I recommend applying thin coats—don’t go heavy here. Thin coats allow for even drying and a smoother finish. Usually, two coats do the job. But, if the aluminum piece is destined for the great outdoors (think patio furniture or exterior windows), an extra coat for good measure is smart. Let each layer dry completely before applying the next.
Why self-etching primer?
It makes the paint stick much better. Without it, you might end up with flaking paint after a few months, especially if the aluminum is exposed to the elements.
Step 3: Choosing Your Paint
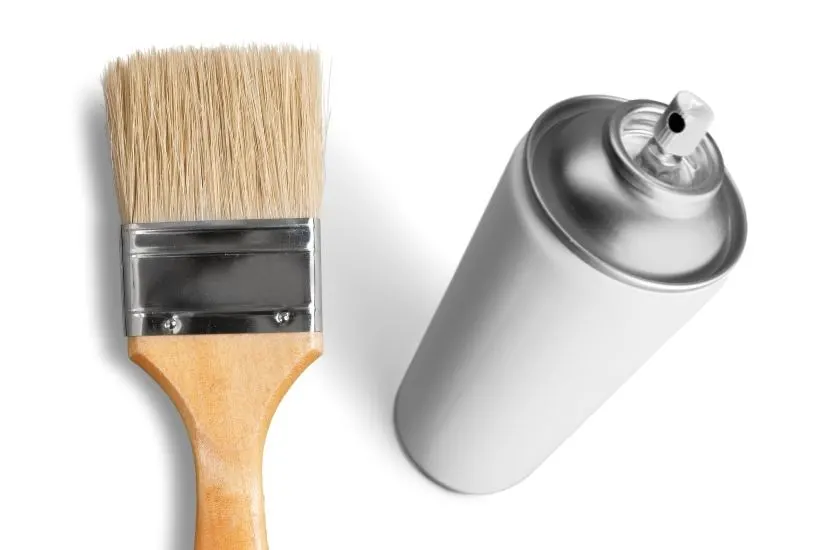
Now comes the fun part: picking your paint! There are two main routes here: spray paint or brush-on paint. Both have their perks, but your choice should depend on the size and complexity of the project.
- Spray paint is fantastic for larger areas. It gives you that nice, even finish without any brush marks.
- Brush-on paint is ideal for detailed areas where you need more control.
Pro tip: Go with oil-based paint. It lasts longer on aluminum because it’s more resistant to corrosion and fading, especially if you’re painting something that will be exposed to the weather.
A brand like Rust-Oleum, which has paint-and-primer combos, can also save you some steps and make your job even easier.
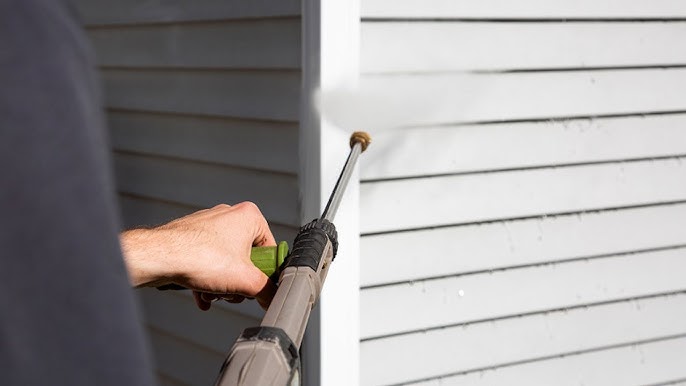
Step 4: Apply Even Coats—Patience Pays Off
Here’s where things can go wrong if you rush. It’s tempting to slap on a thick coat of paint and call it a day, but that can lead to a bumpy, uneven finish—or worse, drips!
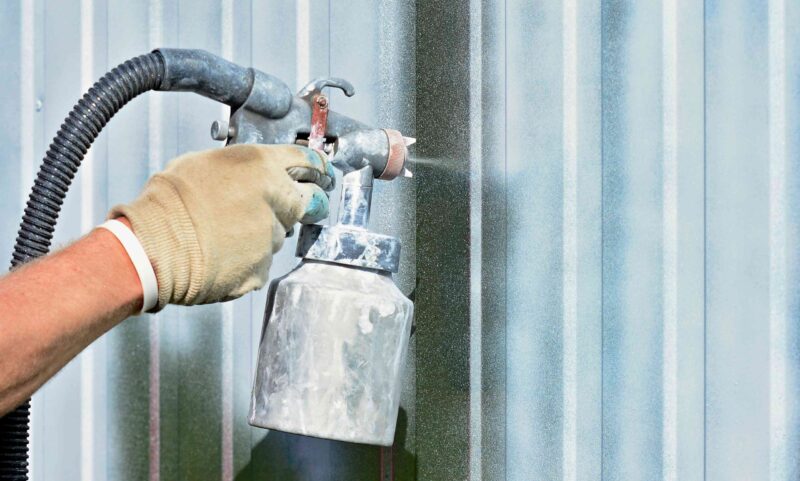
When using spray paint, keep the can about 8-12 inches away from the surface and use a sweeping motion.
Don’t hover in one spot for too long. Overlapping each pass a bit ensures even coverage. The same rule applies to brush-on paint: thin, even layers will give you a flawless finish.
Let each coat dry completely before adding the next. I know waiting between coats can be frustrating, but it makes a world of difference in the end.
Step 5: Seal It with a Clear Coat
So, you’ve done all the hard work and your aluminum piece looks incredible. Now, don’t skip this next part: sealing it with a clear coat.
A protective topcoat helps seal in your paint, protect it from scratches, and prevent it from fading or chipping over time. This step is particularly important for outdoor aluminum surfaces that face sun exposure, rain, and other weather-related hazards.
You can find clear coats in spray-on or brush-on forms, just like with paint. And just like with paint, thin, even coats are key.
Step 6: Dealing with Drips and Overspray
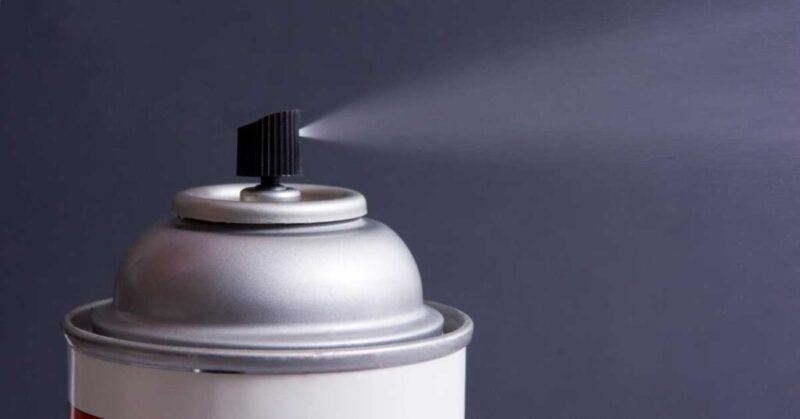
Spray paint is notorious for causing drips and overspray, but a few simple tricks can help avoid this mess. One thing I’ve found helpful is to always start and stop your spray past the edge of the surface you’re painting. This prevents paint from pooling at the beginning or end of each pass.
Also, cover nearby surfaces with drop cloths or plastic to protect them from overspray. The last thing you want is stray paint particles landing on your floors or other nearby objects.
Step 7: Tricks for Painting Around Hardware
Painting around small hardware can be such a hassle, right? Well, I’ve learned a couple of hacks to make it easier.
Aluminum foil is your friend! It molds easily around hinges, knobs, and screws, protecting them without the time-consuming struggle of painter’s tape.
Another clever trick? Apply a little Vaseline to areas you don’t want painted. After you’re done, you can just wipe it off. Super easy.
Step 8: Save Time with Your Brushes and Rollers
Working on a project that spans a few days? Instead of cleaning your brushes and rollers between each coat (which is a pain), wrap them in plastic wrap or store them in a sealed plastic bag.
Toss them in the fridge, and you can keep them fresh for up to a day without the paint drying out. This trick saves you from the hassle of constant cleaning and lets you dive right back into the next coat.
Step 9: Timing is Everything—Watch the Weather
When painting aluminum outdoors, timing is everything. Weather conditions play a huge role in how your paint dries and cures.
Painting when it’s too hot, cold, or humid can cause uneven drying or make the paint tacky for what feels like forever.
The sweet spot is when it’s between 65°F and 85°F with low humidity. After you’ve finished, let the paint cure for at least 7-10 days before subjecting the piece to any wear or tear.
Step 10: Don’t Forget to Label Your Paint Cans
One last tip: label your leftover paint cans! Trust me, you’ll thank yourself later. If you have any paint left over after your project, write down where it was used.
If you ever need to do touch-ups, you’ll know exactly which can to reach for, and you won’t waste time trying to match colors or finishes.
Wrapping It Up
Painting aluminum doesn’t have to be frustrating or overly complicated. A little prep work and the right tools can go a long way toward making the process smoother.
From prepping the surface to choosing the right primer and paint, it’s all about setting yourself up for success. Take your time with each step, and the results will be worth it—smooth, even, and long-lasting.